As a reward for qualifying in the Carnegie Hall performance my parents let me build my own gaming pc. You might be thinking why build a PC when you can just buy an Xbox or a Ps4 for cheaper. Well, a PC can be overclocked, you can use it for many other purposes (like, you know, school work!) and if you really play video games, you can stream on twitch. Most really good video gamers also play on pc. I was very excited for this and awaited it for almost a year. I had no idea how much testing and research was required. When I found out I was actually more excited because it would help me in the future if I ever have to fix a motherboard or computer.
Selecting the Components
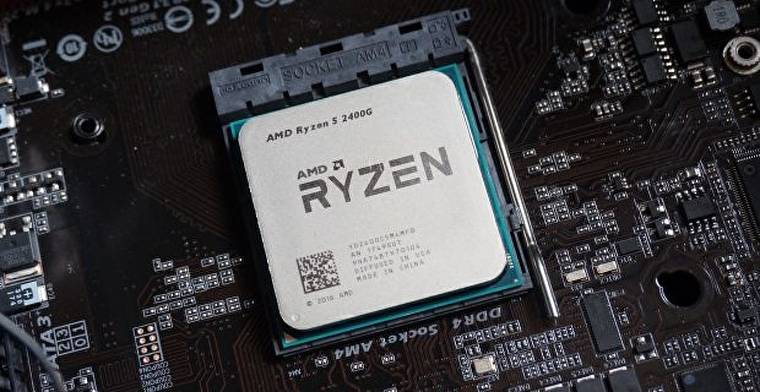
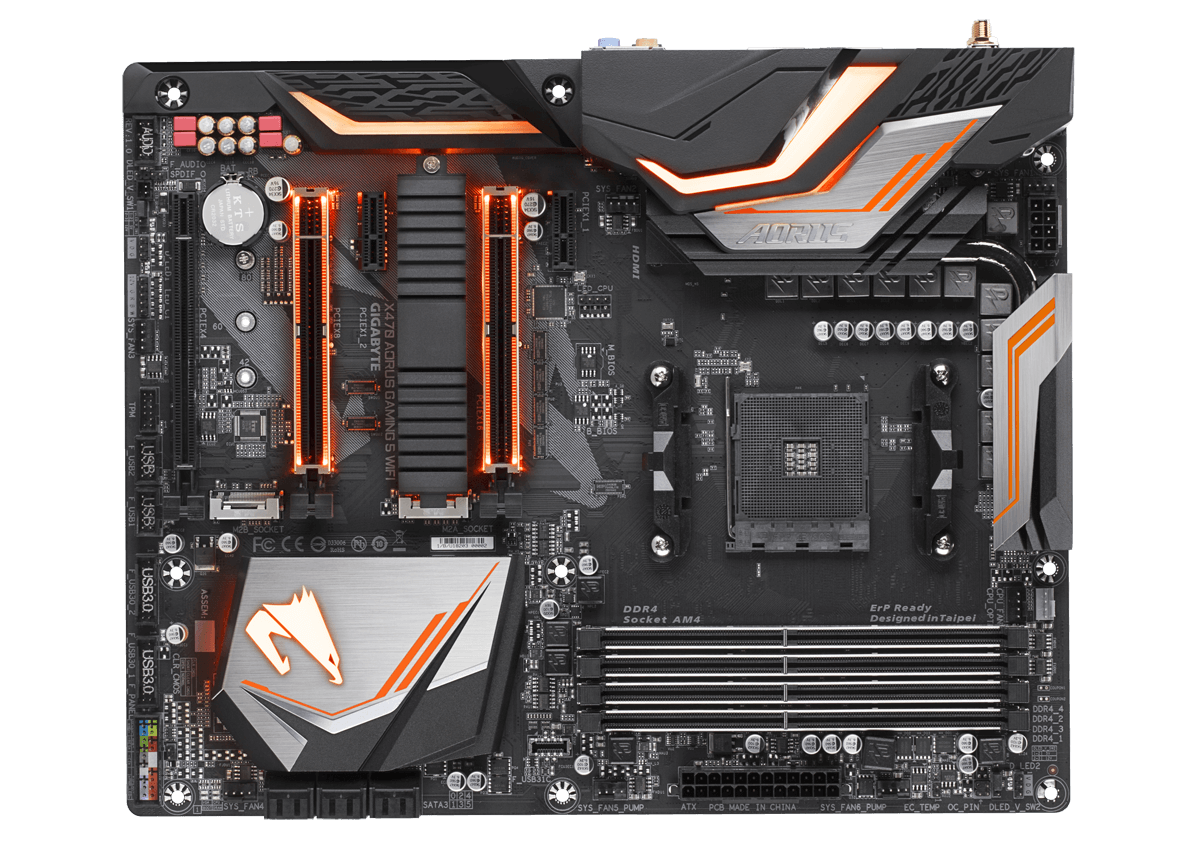
First we listed all the parts we would need. A motherboard, CPU, RAM, SSD, a Case, a Power Supply and a Graphics Card. We first decided on our CPU. It was a difficult choice but we chose AMD over Intel. AMD was easier to overclock and Intel could completely get destroyed if we overclocked it too much. The most recent one also had a integrated graphics card, which made it easy to start with, considering how expensive mid to high end graphics cards are at this time (blame the Bitcoin mania). Next we chose our Motherboard. This was actually very hard because we kept thinking whether we should use a microATX or a ATX case. We finally decided on n ATX board just because it gave the most expansion options for the future. The Gigabyte board we selected also had wifi on the board itself, saving us from buying a separate card. We chose the rest of the parts by thinking mostly about the cost and compatibility. My father advised me to work with good parts that we could keep using for my entire high school period without any speed issues. These parts are also quite future proof and we can easily upgrade different components later to improve the performance eg. adding a Graphics card once the prices come down, adding more memory, adding a CPU cooler and even upgrading the CPU! He also provided me with a used 27" monitor, which still worked and looked great!
Here is the final parts list we got:
PCPartPicker part list / Price breakdown by merchant
| Type | Item | Price |
|---|---|---|
| CPU | AMD - Ryzen 5 2400G 3.6GHz Quad-Core Processor | Purchased For $143.00 |
| Motherboard | Gigabyte - X470 AORUS GAMING 5 WIFI ATX AM4 Motherboard | Purchased For $145.00 |
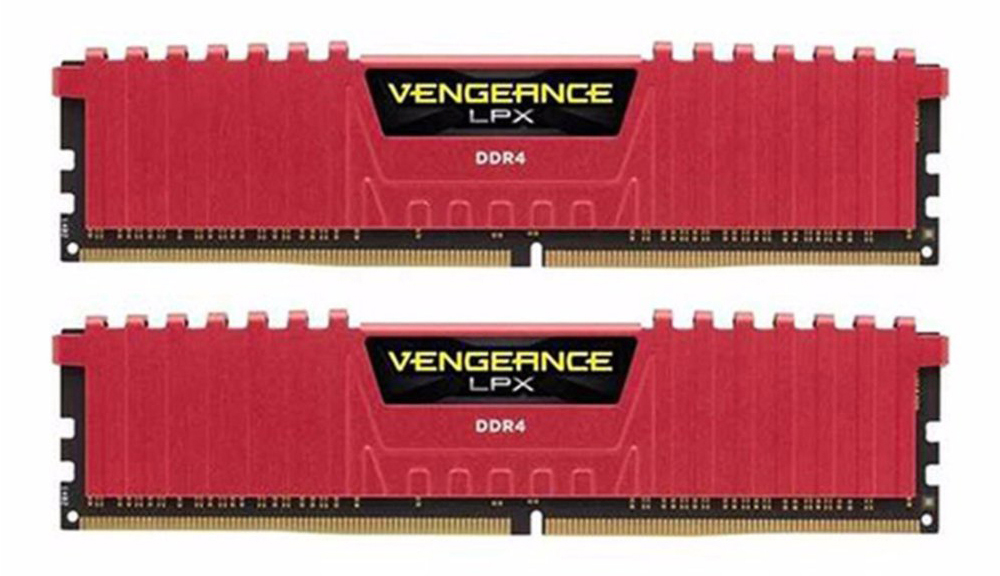
| Memory | Corsair - Vengeance LPX 8GB (2 x 4GB) DDR4-3200 Memory | Purchased For $85.00 |
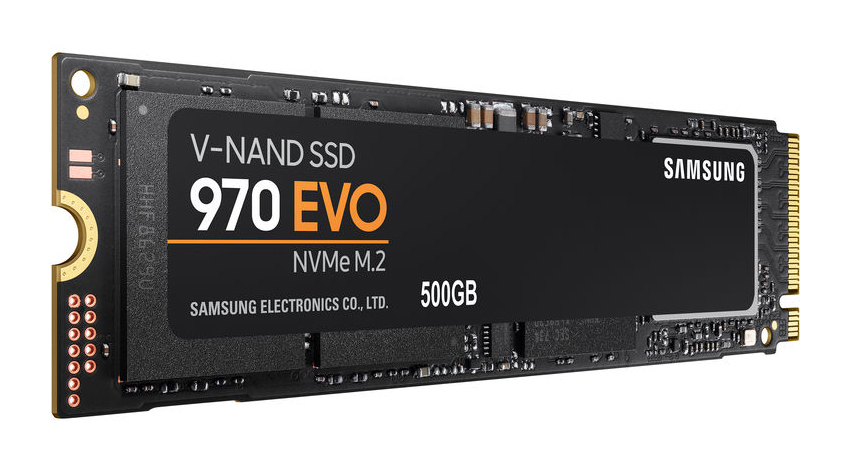
| Storage | Samsung - 970 Evo 500GB M.2-2280 Solid State Drive | Purchased For $97.00 |
| Case | Cooler Master - MasterBox Lite 5 RGB ATX Mid Tower Case | Purchased For $35.00 |
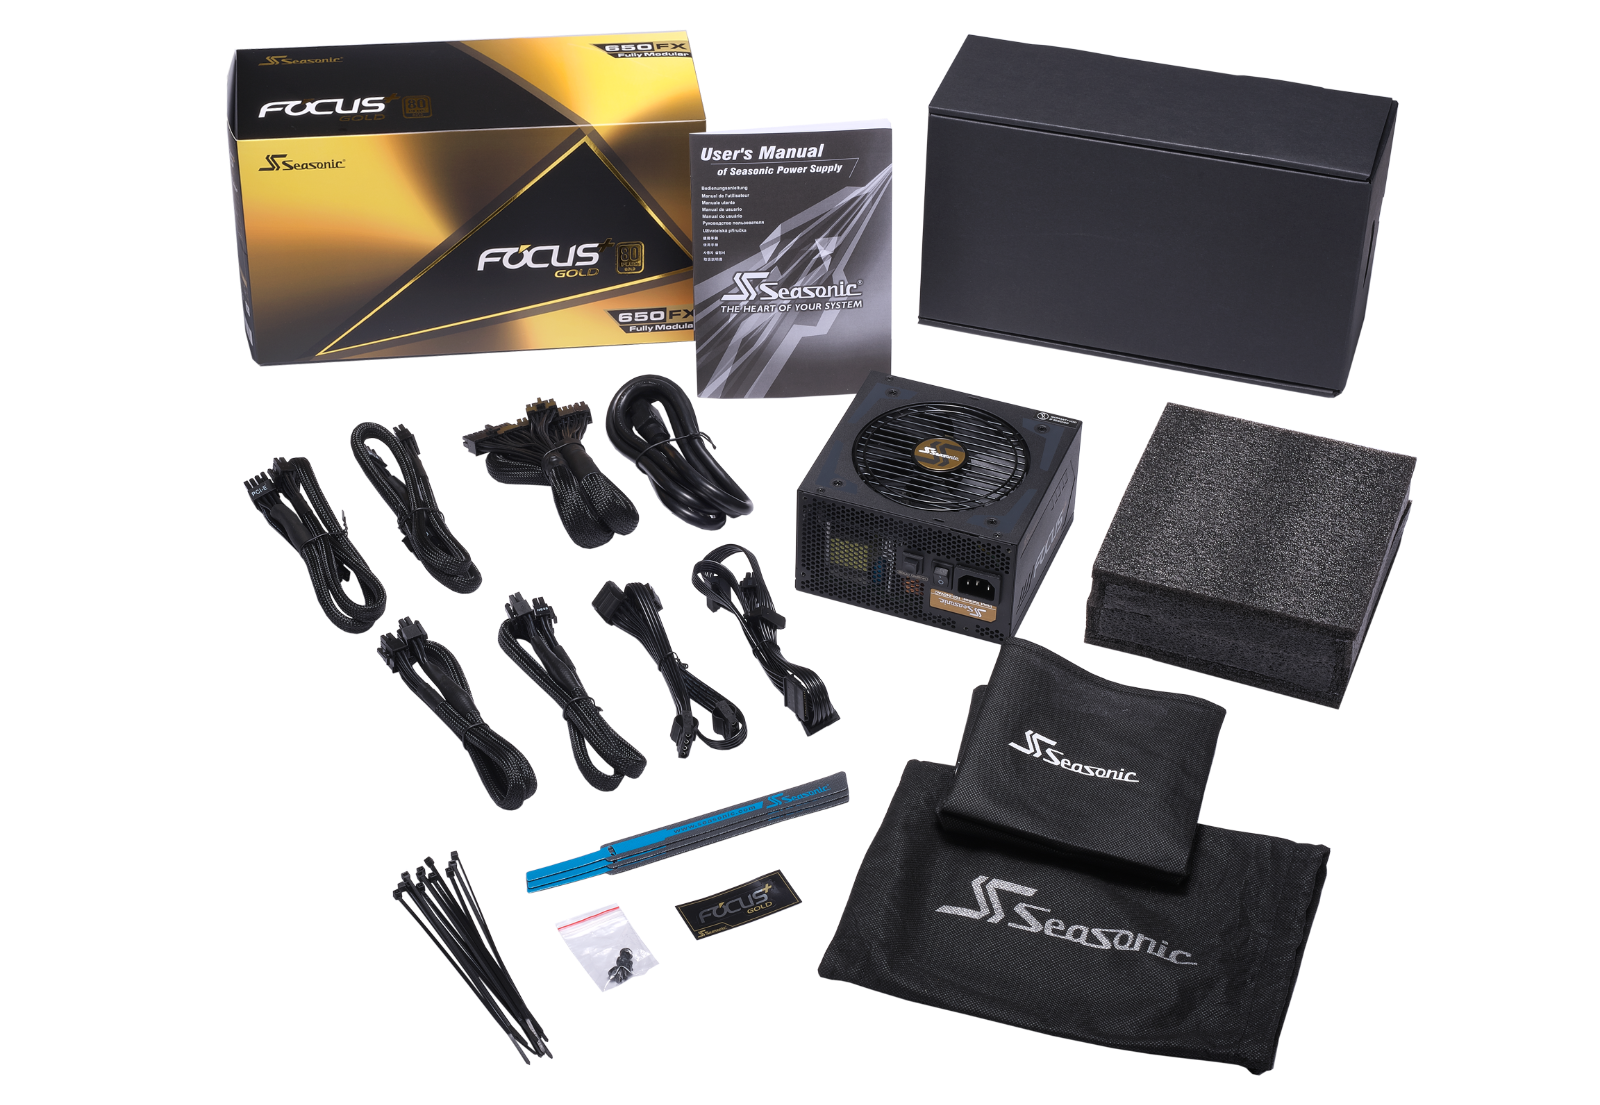
| Power Supply | SeaSonic - FOCUS Gold 550W 80+ Gold Certified Semi-Modular ATX Power Supply | Purchased For $55.00 |
| Operating System | Microsoft - Windows 10 Home OEM 64-bit | Purchased For $38.00 |
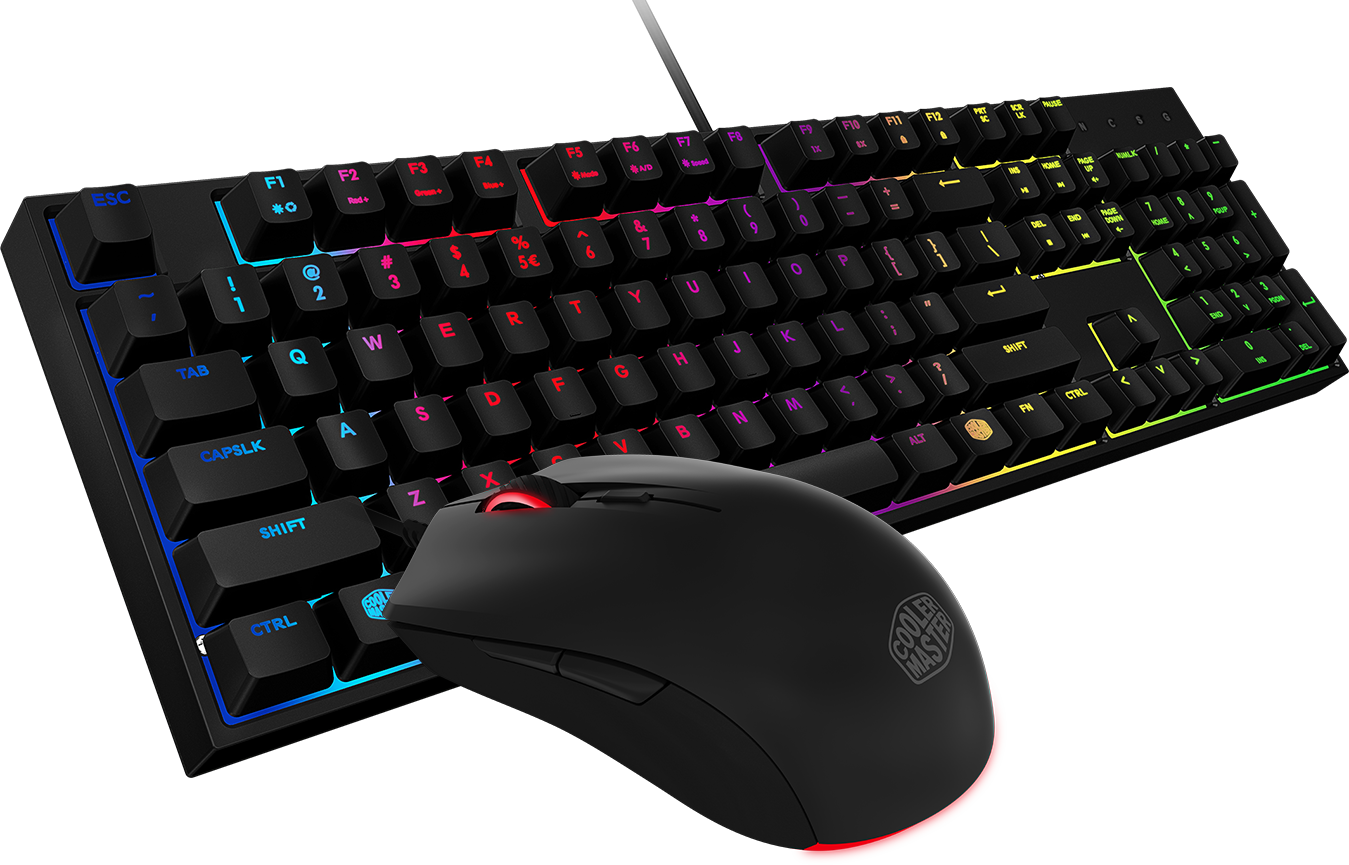
| Keyboard | Cooler Master - Lite L Wired Gaming Keyboard w/Optical Mouse | Purchased For $45.00 |
| Prices include shipping, taxes, rebates, and discounts | ||
| Total | $643.00 | |
| Generated by PCPartPicker |
The final cost came out to be about $640, which was about $40 more than our original budget. Of course, this did not include a full Graphics card as we were able to do fine with an integrated graphics CPU! Adding a card like the Nvidia Geforce 1070 could easily have added $400 or so to this cost. Something for me to work on for later, I suppose!
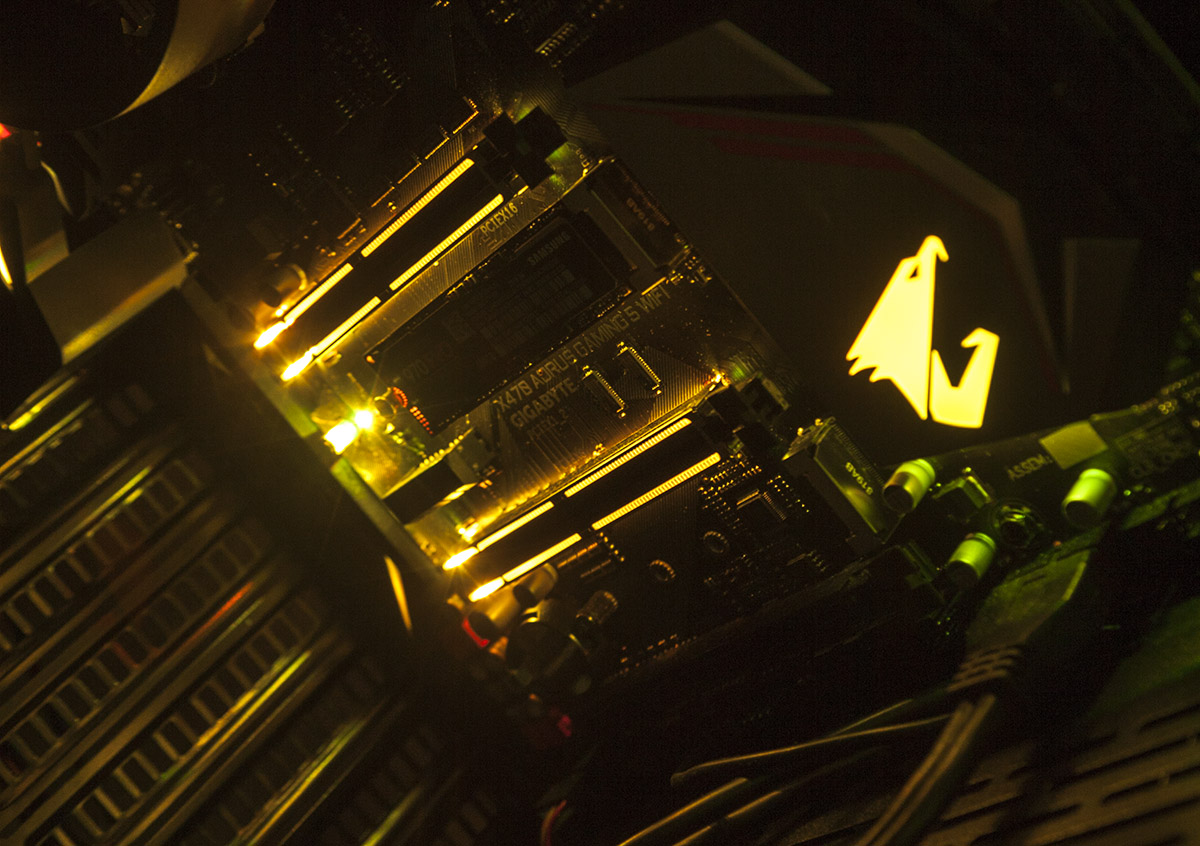
Photos

Assembly
We spent a few more weeks researching and once we had all the parts, we finally started this highly technical project. We opened everything and started with the motherboard. We carefully screwed the motherboard into the case. After this we added all the other parts one by one. Connecting the Power Supply was scary and we had to make sure we used the correct connector on the correct port on the board. The directions given with the motherboard, PSU and the CPU helped but it still took a whole to do this. The most fun was getting the LED lights working - this also was not as straightforward since its connection was not clear in the directions. But we eventually sorted it out. Finally, when we finished the building part, we got into the testing stage. We downloaded Windows 10 and we had to update and turn on a bunch of settings in the bios of our motherboard to allow for a little overclocking.
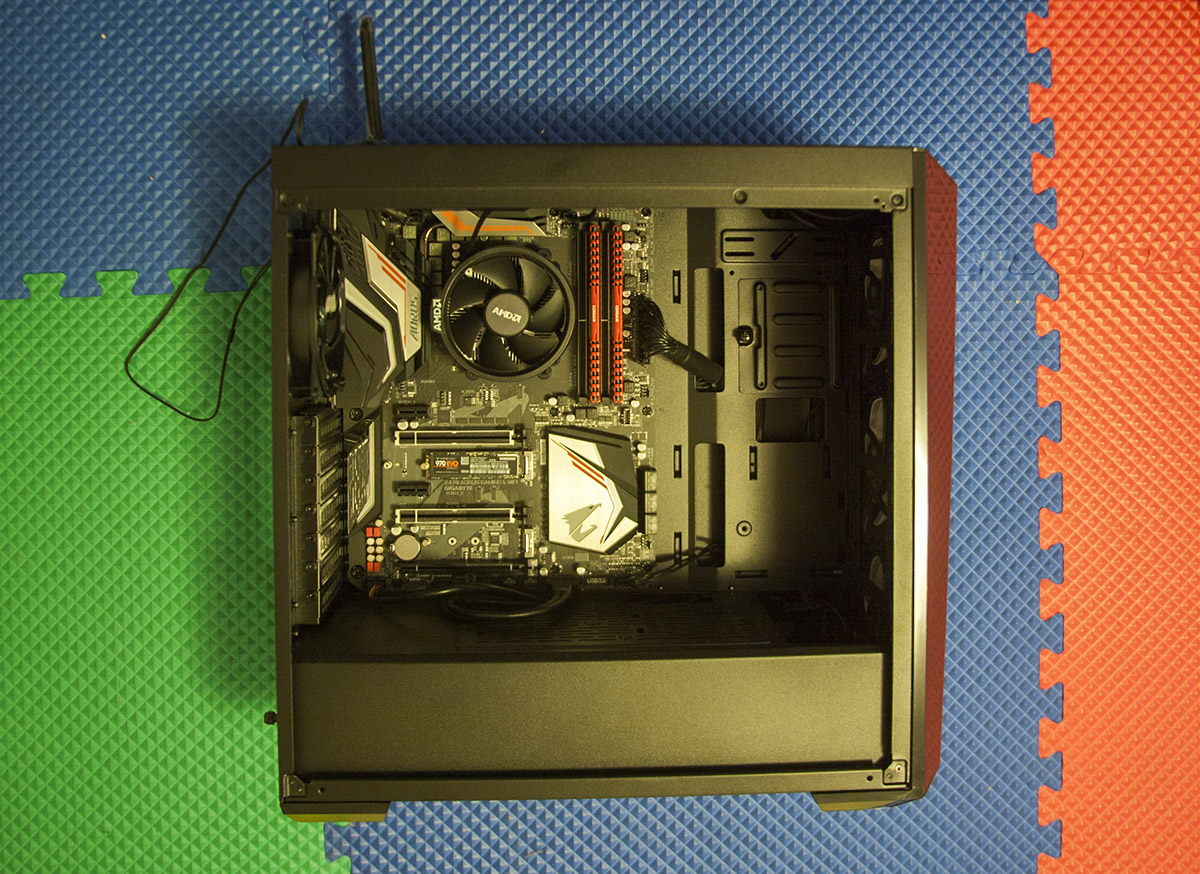
We were done with most of the important stuff, and now we could finally start up the computer and begin testing out the graphics and cpu power. We downloaded a few games to see how they would run it. We started with Fortnite (because..why not?) and ran a few games on Google Chrome. We also downloaded applications like CPU Monitor and GPU Monitor to record how the CPU handled these games. It went very well at first. We still had a few tweaks to be made like the display resolution (the monitor could handle QHD resolution but I had to bring it down to 1920x1080 pixels to keep it stable) and I also played around with my RGB lights and discovered that my motherboard’s RGB lights could be synced with my case’s RGB fans! I also managed to sync it with my RGB keyboard. It is a really cool sight, especially at night. Here's the final outcome:
This was one of the more exciting rewards I have got, and I learned a lot from building it. I can now even help out in my school's Technology class!